
How to Make Bikaneri Bhujia at Home: The Authentic Moth Dal Recipe
By Bite Basket · • 7 views
My first attempt at making Bikaneri bhujia at home was a disaster. The dough was too wet, the strands fused into one sad pancake in the kadhai, and what came out looked nothing like the bhujia I grew up eating. It tasted fine, sort of, but it wasn't bhujia.
The second attempt was better, the third actually good. By the fifth I understood what no recipe card had told me: how to make Bikaneri bhujia at home comes down to three things — the flour, the dough, and the oil temperature. Get those right and the rest forgives you.
What makes Bikaneri bhujia different from ordinary sev
Most sev is just besan — gram flour — pressed through a mould and fried. Bikaneri bhujia isn't. The real thing starts with moth dal, the hardy desert lentil grown around Bikaner, ground into flour and mixed with besan. That's the whole secret: moth dal gives bhujia its nutty depth and its snap, while besan alone gives you sev — pleasant, but not bhujia.
The second difference is the spice: Bikaneri bhujia gets its heat from black pepper, not just red chilli — a warm, slow burn, with cloves, cardamom and dry ginger underneath. The third is the strand itself: fine as thread, fried fast in groundnut oil, so thin it shatters instead of bending.
The snack dates back to Bikaner in 1877, to the reign of Maharaja Dungar Singh, and it eventually earned a GI tag — official recognition that this crunch belongs to this city.
What you need before you start
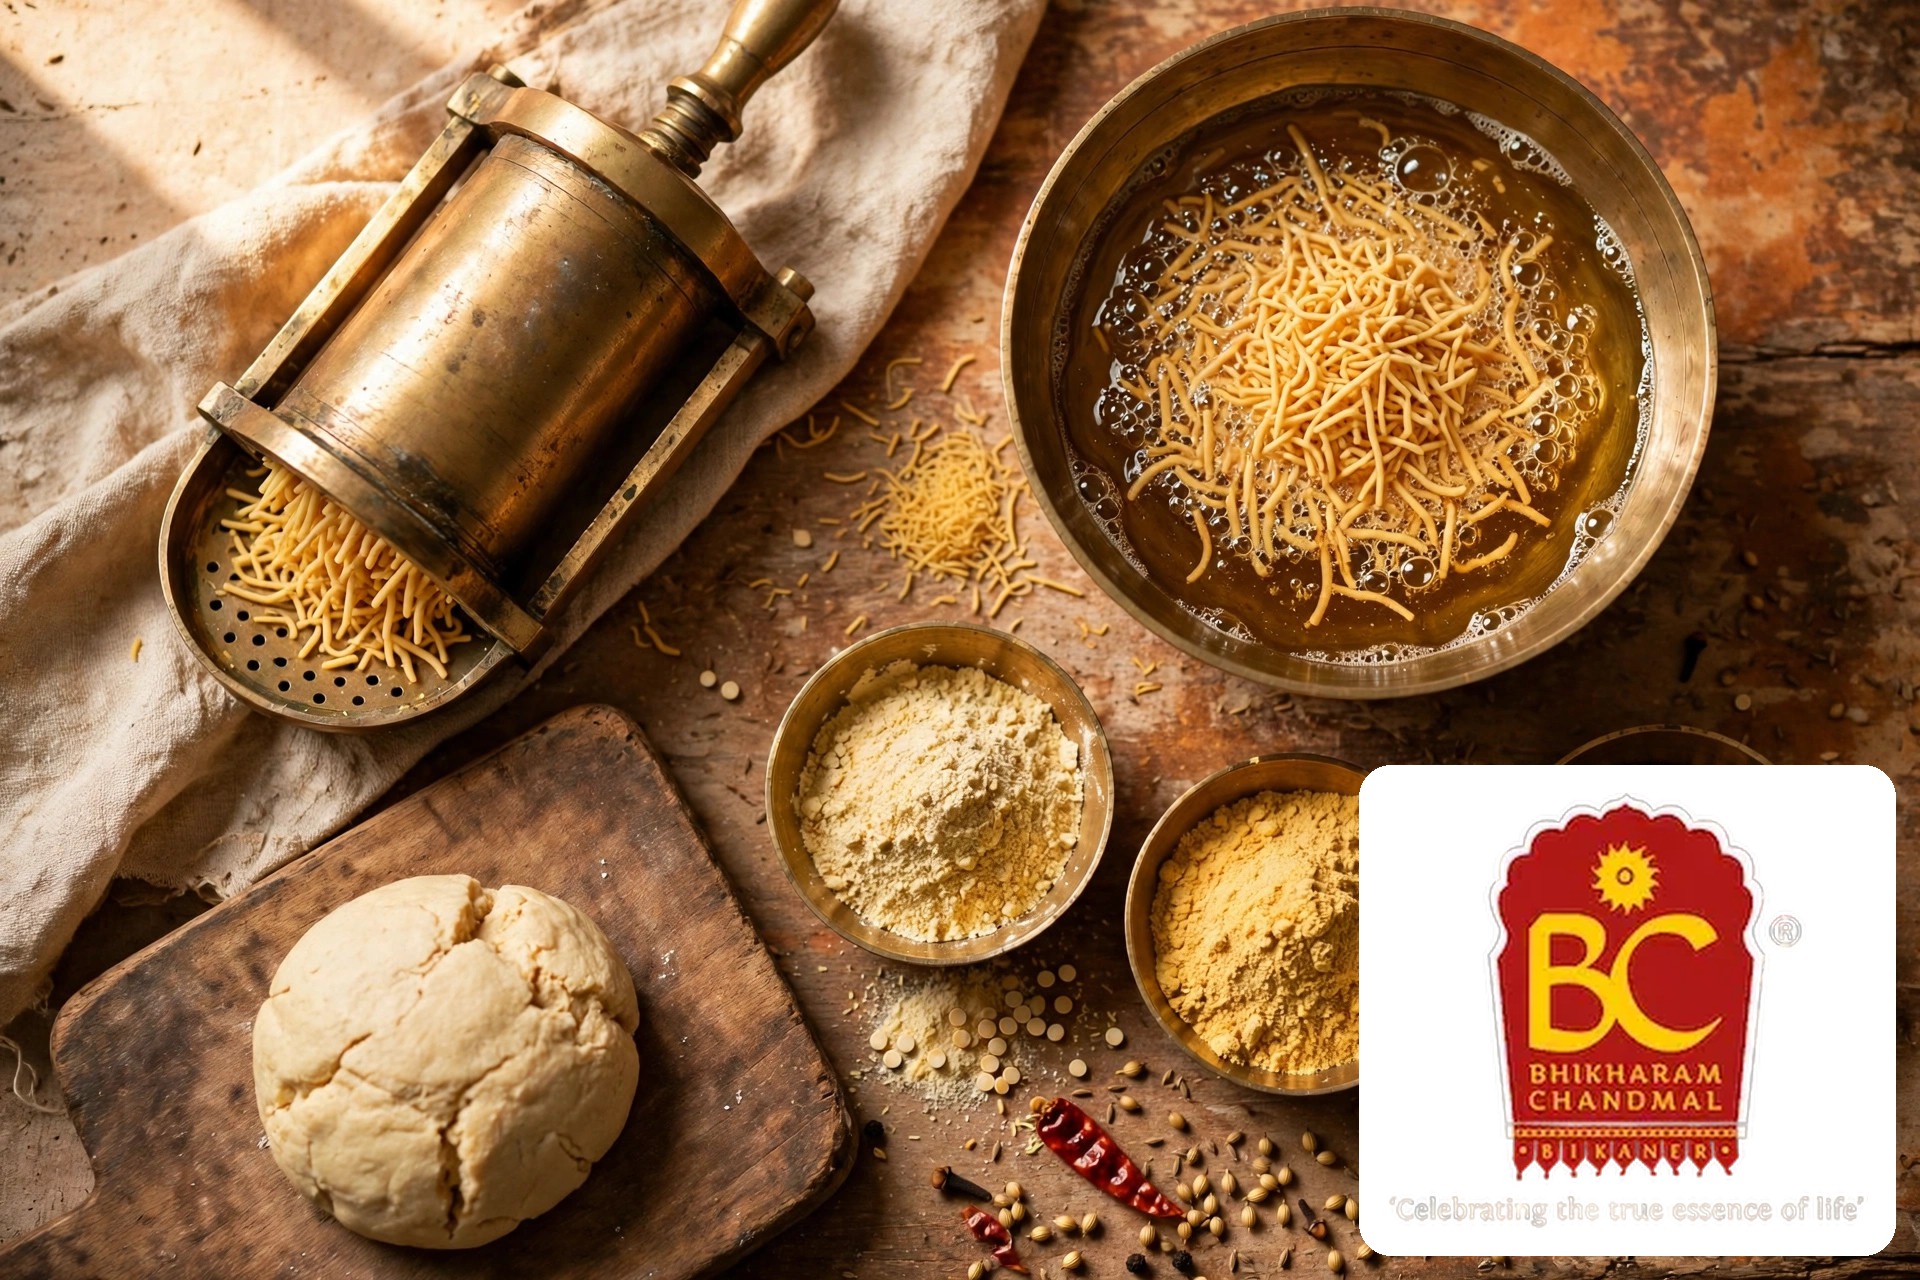
Two things are non-negotiable. The first is a sev press — the brass or steel cylinder with interchangeable discs, called a saancha in Rajasthani kitchens — fitted with the finest-hole disc. Pistol-grip makers struggle with this stiff dough, so the traditional screw or lever press is easier. The second is a deep kadhai with enough oil for the strands to float freely; a shallow pan crowds them and they clump.
Everything else is pantry stuff. For one batch, about 250 grams of finished bhujia, you need:
- 1 cup moth dal flour (about 120g) — buy it ready-ground, or grind whole moth dal at home and sieve it fine
- 1 cup besan (about 120g), sieved so no lumps block the press
- 2 tablespoons rice flour — optional, but it adds extra crispness
- 1 teaspoon black pepper powder, freshly ground if you can
- 1 teaspoon red chilli powder — Kashmiri if you want colour without too much heat
- ½ teaspoon dry ginger powder
- ¼ teaspoon clove powder and a pinch of cardamom powder
- ½ teaspoon hing (asafoetida)
- 1 teaspoon salt, or to taste
- 2 tablespoons hot oil (moyen) — groundnut oil, the way Bikaner's halwais use it
- Water, a little at a time, for kneading, and groundnut oil for frying
About the oil: Bikaner's halwais fry in groundnut oil, not palm oil — clean-tasting, high smoke point, none of palm oil's waxy coating. The oil is half the flavour, as I wrote in why Bikaner's halwais still fry in groundnut oil.
The recipe, step by step
Step 1: Mix and sieve the dry ingredients
Sieve the moth dal flour and besan into a wide bowl, then add the rice flour, spice powders, hing and salt. Sieving is not optional — any coarse particle will jam the fine disc halfway through, and unblocking a press full of dough is nobody's idea of a good evening. Mix with your fingers so the spices distribute evenly.
Step 2: Add the hot oil and knead a stiff dough
Pour in the hot oil and rub it into the flour until the mixture looks like coarse breadcrumbs. Then add water a tablespoon at a time and knead. This step decides everything: the dough should be stiff and smooth, not soft. Too soft and the strands come out thick and chewy; too dry and it cracks in the press. You're aiming for dough that holds its shape when squeezed but doesn't stick to your fingers. Most recipes say "soft dough"; for bhujia, ignore that.
Step 3: Rest the dough for 10 minutes
Cover with a damp cloth and rest for ten minutes — the flours hydrate, the dough relaxes, and pressing gets noticeably easier. Skip it and you'll fight the press the whole time; I know, because I skipped it on attempt one.
Step 4: Heat the oil and test it
Heat the groundnut oil on medium flame and drop in a tiny piece of dough: it should sink a little, then rise steadily with lively bubbles. If it shoots straight up and browns in seconds, the oil is too hot — your bhujia will brown outside and stay raw inside. If it sits at the bottom barely bubbling, the oil is too cool and the strands will drink oil and turn soggy. Medium heat, steady bubbles — that's the zone.
Step 5: Press the strands straight into the oil
Grease the press lightly, fill it with dough and fit the fine-hole disc. Hold it over the kadhai and squeeze, moving in slow circles so the strands spread out instead of piling up. Don't press too much at once — a loose nest fries evenly; a dense clump sticks together. Fry about two minutes, until the sizzling quiets and the strands turn light golden, flipping gently halfway through.
Step 6: Drain, cool, and store
Lift it out with a spider spoon, drain briefly, then spread on absorbent paper. Let it cool completely — it crisps further as it cools — then break it into shorter strands if you like. Store in an airtight steel dabba or jar; it stays crisp for two to three weeks at room temperature, though in my house it has never once survived that long.
Five mistakes that ruin homemade bhujia
- Dough too wet. The number one mistake — wet dough makes thick, soft strands that go chewy instead of crisp. Add water a spoon at a time and stop the moment the dough comes together.
- Oil too hot. Thin strands go from golden to burnt in seconds — if the first batch darkens too fast, turn the flame down and wait a minute before the next press.
- Pressing too much at once. A crowded kadhai drops the oil temperature and the strands glue together — small nests, fried in batches, always win.
- Skipping the sieve. Unsieved moth flour has coarse bits that block the press disc. Five minutes of sieving saves twenty minutes of frustration.
- Storing it warm. Even slightly warm bhujia sealed in a jar steams itself soft. Cool it completely, then seal it.
Easy variations once you've got the base right
Once the base recipe works, the variations are easy. For aloo bhujia, swap a third of the flour for boiled, mashed potato and drop the rice flour — the dough gets stickier, so use the traditional screw press. For a milder version, halve the black pepper and use only Kashmiri chilli for colour. For a no-garlic Jain-style bhujia, you're already there — the classic recipe has no onion or garlic at all. A toss of dried mint powder or chaat masala on the cooled bhujia works too.
Homemade vs halwai-made: an honest comparison
Homemade bhujia is wonderful — fresher than anything in a packet, exactly as spicy as you like it, and there's real pride in a jar you filled yourself. But it isn't the same as a Bikaner halwai's, for two honest reasons. First, the moth dal: halwais use moth dal ground to their own specification, from lots they've bought for decades, and the flour makes a difference you can taste. Second, the equipment: a halwai's brass saancha, worked by hand for forty years, extrudes finer, more even strands, and a vast kadhai holds its oil temperature steady where a home kadhai dips with every batch.
So make it at home for the joy of it, and for the weekends when you want the kitchen to smell like Bikaner. And when you want the real thing without the work, order from the people who have done it for generations: Bhikharam Chandmal has made bhujia in Bikaner since 1900, and their Bikaneri Bhujia is the closest thing to the halwai's own counter. My guide to how Bikaneri bhujia is made, from moth dal to the bhujia press shows what happens inside a Bikaner workshop, and my deep-dive on moth dal, the protein-rich lentil behind real Bikaneri bhujia explains why this one ingredient defines the whole snack.
Where to buy if you'd rather skip the frying
Not every weekend has room for a sev press and a kadhai of hot oil. If you'd rather just eat the bhujia, BiteBasket ships the real thing from Bikaner's heritage halwais across India — Bhikharam Chandmal's Bikaneri Bhujia, or The Lalji's 1kg pack if you're stocking up. Browse the full namkeen range for mixtures, aloo bhujia and moong dal. Orders above ₹600 ship free, and most go out within 24 hours.
Frequently asked questions
Can I make Bikaneri bhujia without moth dal flour?
You can, but it won't be Bikaneri bhujia — it'll be besan sev, a fine snack in its own right. Moth dal is what makes bhujia bhujia: the nutty flavour, the snap, the protein. The flour is easy to find online or at a kirana store, and grinding whole moth dal at home and sieving it fine works too.
Can I make bhujia without a sev press?
Not really, not the thin strands. A piping bag with a fine nozzle clogs, and hand-rolling is impossibly slow. A basic brass sev press costs a few hundred rupees, lasts decades, and also makes chakli, gathiya and murukku.
Why did my bhujia turn soft instead of crispy?
Almost always one of three things: the dough was too wet, the oil was too cool, or you sealed it in a jar while still warm. Check the dough first — it should be stiff, not soft — then check the oil with the test piece. And always cool completely before storing.
How many calories are in homemade Bikaneri bhujia?
About 150 to 180 per 30-gram handful, depending on the flour mix and the oil — I broke the numbers down in my Bikaneri bhujia calories guide. Enjoy it as a topping or a small handful with chai, not by the fistful from the jar.
How long does homemade Bikaneri bhujia last?
Two to three weeks in an airtight container at room temperature, if it stays dry. In humid weather, add a small pouch of uncooked rice to the jar. If it loses its crunch, five minutes in a low oven (around 120°C) brings it back.
Comments (1)
Add a comment ↓Vishal
घर पर असली बीकानेरी भुजिया बनाने की यह मोठ दाल वाली रेसिपी बहुत साफ तरीके से समझाई गई है। पहली कोशिश में ही कुरकुरी भुजिया बनी तो चाय के साथ मज़ा दोगुना हो जाएगा।
Leave a comment
Your email address will not be published. Comments appear after our team has read them.